

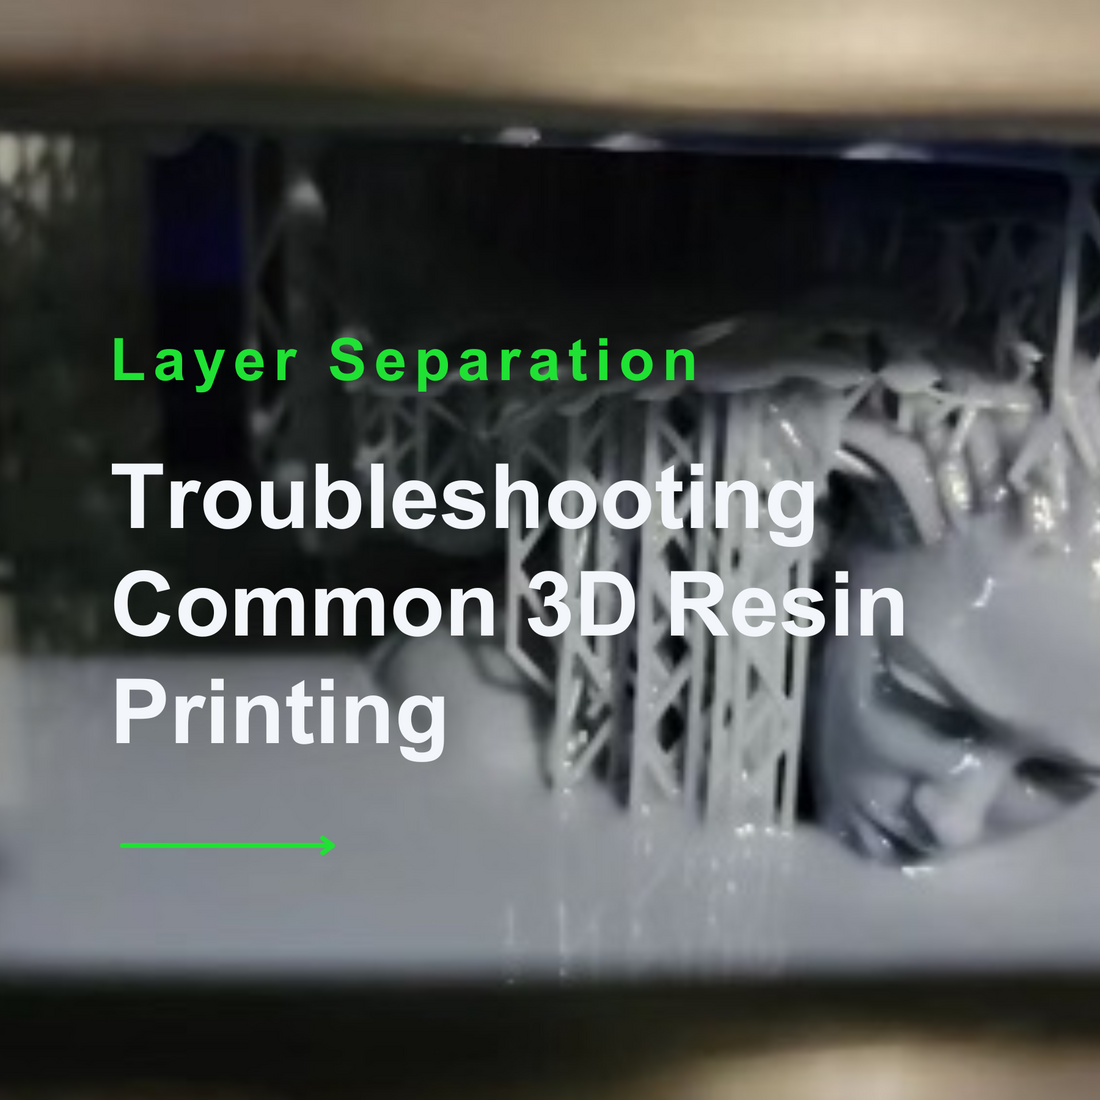
You're not alone if you've encountered these familiar scenarios: layer separation, incomplete prints, or adhesion issues. Let's dive straight into dissecting these problems and finding effective solutions to make your 3D resin printing experience with your GKTwo smoother and more enjoyable.
1. Temperature Issues
One common culprit is temperature. If the environment temperature is too low or the temperature drops significantly during printing, the material may fail to adhere to the plate or fail halfway. Please check the resin temperature before printing and heat it if necessary. Also reviewing the recommended temperature for the resin you are using is incredibly important; not all resins are alike.
The GKTwo's built-in PTC (Positive Temperature Coefficient) heating technology combats this by ensuring optimal printing conditions even in changing ambient temperatures. With temperature control settings ranging from 77℉ to 95℉(25 to 35 degrees Celsius on your printer), your prints stay on track.

2. Software Issues
Slicer settings matter significantly in 3D printing. Here are some software-related challenges and how to address them:
- Large prints without hollows/ Large prints hollowed but without drainage holes: For large solid models, the surface area is also large. To avoid partial separation and layer lines, leave some parts hollow inside and add one or two drainage holes are near the build plate and add air pressure release holes on the other side of the model near the resin vat. Additionally, having too solid of a model may result in the model being too heavy and not adhering to the build plate after a certain point. Properly hollowing the model also will help eliminate resin waste.

- Check the position: Tilt 30 or 45 degrees to help prevent peeling. However, it is important to keep in mind that a larger cross-section may increase the peeling forces during the build plate lifting. By printing a model at an angle, you are reducing the surface area of each layer while also decreasing the amount of contact the print has with the tank, it will drastically increase the success rate.


- Slicing settings: A common is when the rest time after retraction was set to 0 or the lifting speed was too fast. Depending on the resin’s fluidity, the retraction speed should be set to 1 second, unless the model is too sticky, then it should be set to 2 seconds per minute. Additionally the lifting speed should be no more than 300mm/min.

- File issues: The file was corrupted during slicing or exporting and may miss some layers. Use UV tools to check: https://github.com/sn4k3/UVtools. If you slice with Chitubox slicer, there is an auto file-checking function on GKtwo UI, the system will not start to print if any corrupted file is detected.
3. Hardware Issues
Hardware plays a crucial role in successful prints. Here's some most common printing failure causes:
- Loose Parts: Hardware such as the LCD, UV Light Source connection, build plate, arm or resin vat being loose can cause a print to fail.
- Not Leveling: Leveling your build plate on a consistent basis, especially after ANY printing issues, is vital for successful prints. Usually, an unlevel table can cause the vat and build plate to become unlevel too. If your printing table is unstable, adjusting the printer's feet or using a height-adjustable table may be necessary.


-
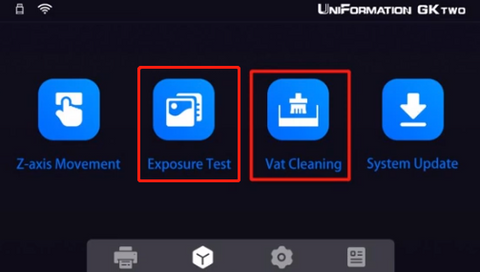
Motor or Mainboard Problems: Run a Z-axis test to diagnose problems.
- Manually add resin or stop the printer during printing: Adding resin too fast during printing or resin that has not been heated to the appropriate temperature can cause layer separation or lines in your prints.
- Resin Quality: Expired or improperly mixed resin can lead to failed prints.Be sure to shake the resin very well before use. If the resin siting in the vat more than 24 hours it is better to stir it good before use.
- Debris in the vat: Be sure to keep your resin in the vat clear of debris, and clean the vat thoroughly if you do, especially after a failed print.

Tips on how to clean your vat and filter resin properly
Step 1: Take an old model/support with a flat surface that you no longer need and place it in the corner of the vat, ensuring it is firmly, but not forcibly, to the vat NFEP.
Step 2: Run the vat cleaning in the UI, which takes approximately 10 seconds. The entire screen will light, and cure the area of your vat . This will light up the whole screen and create a rectangular piece of cured resin to which the old model/support will adhere to. You may have to do the vat cleaning more than once to firmly secure the old model/supports to the cured layers of resin.
Step 3: Peel up and squeeze to drain the resin and then dispose of it.
Step 4: Filter resin.
https://www.youtube.com/watch?v=XAiyg7yUI_M
*Note: It is important to clean the vat regularly, especially if you notice hard pieces of resin floating around or sections of hardened resin at the bottom of the vat. Otherwise, it will result in damage to the vat when the build plate goes down. In the worst case, the nfep film may break, causing resin to leak and cure on the screen protectors. Even worse, liquid resin could get into the inner working of your machine and cause more serious issues.


*all pictures above provided by UniFormation community
Troubleshooting
Step 1: Try to use IPA to clean the cured resin on the screen protector, if it can be removed, then you can use it continuously, if the cured resin can’t be removed, then replace a new protector
https://www.youtube.com/watch?v=fB4DNz-dNDw
Step 2: Replace a new nFEP
https://www.youtube.com/watch?v=H47ABCKRPCo
Step 3: Check LCD exposure, make sure your light source is working
Remember, a failed print can lead to further issues, so prioritize timely action.
Don't let printing fails to discourage you. Successful troubleshooting of printing issues gives you invaluable knowledge and experience that turns your challenges into steppingstones towards mastering your GKTwo printer.
Stay tuned for more tips and stay connected with us for updates and insights from the 3D printing world. We're here to support you on your journey to exceptional creations.
Happy Printing!
Join us to discuss
Facebook group: https://www.facebook.com/groups/661715828314843
Discord server: https://discord.gg/CfevPHnd